21st Birthday Princess
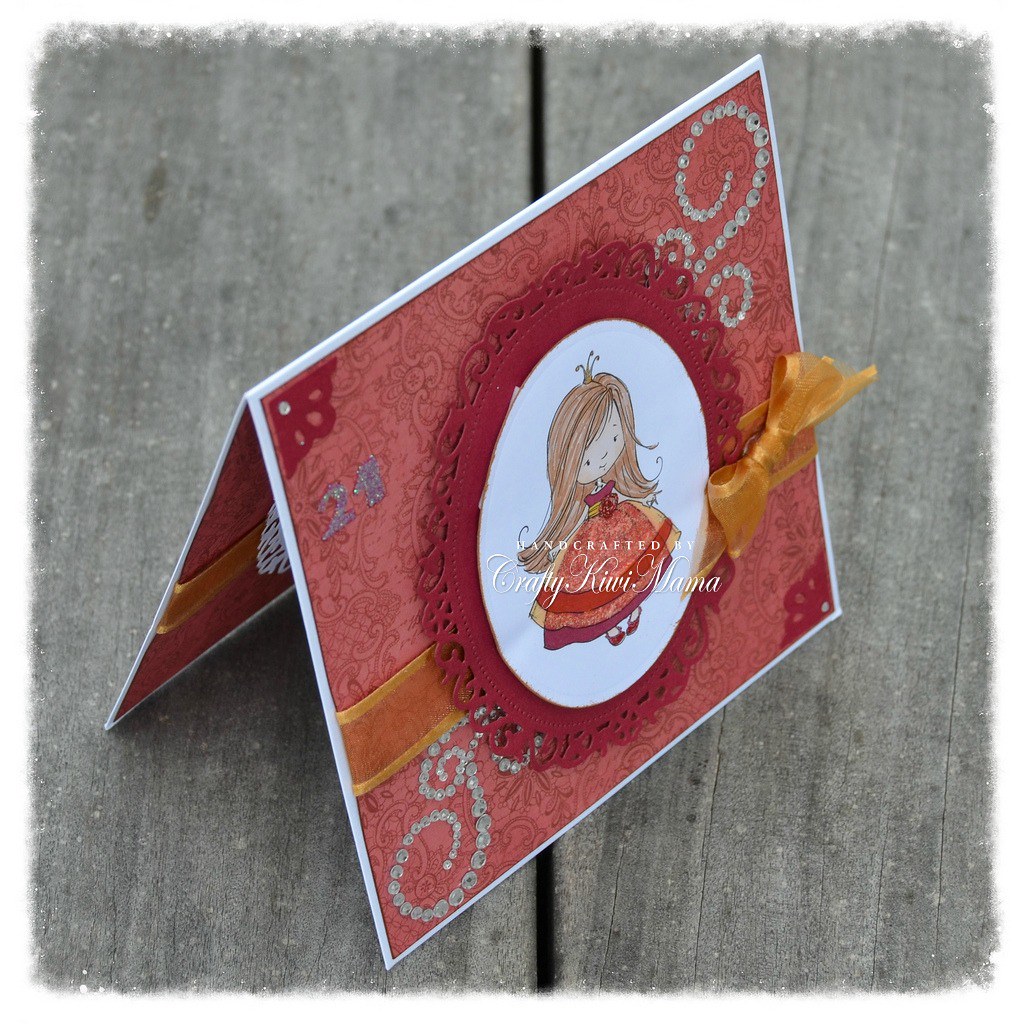
I made this card for my cousin's 21st. It's amazing seeing the next generation coming of age! Mind blowing actually, as I still recall so vividly her arrival into this world and the joy that this brought her mummy - my first cousin. I still recall my own 21st so vividly for that matter! I don't feel old enough to have been married for nearly 20 years or to have two gorgeous babes who are growing up super fast too! But time waits for no man, and reality check - I AM that old!! LOL.
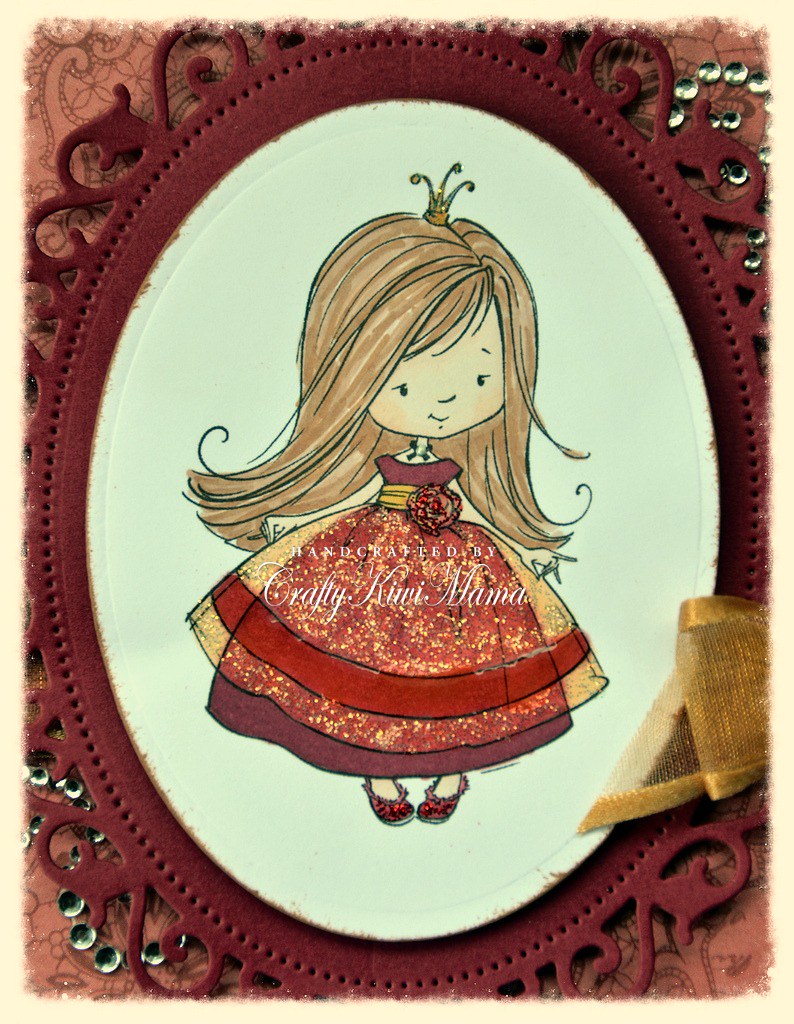
The image I used is a newer release from the fabulous folks at Funky Kits. Home of the Sugar Nellie stamps, which are some of my favourites! You can find this wee princess here. It's a digital stamp, so super quick and easy to download. I've coloured her of course with my Promarkers, notably with the newest limited edition release colours 'Red Sweater' on her dress and 'Sleigh Bell' on her crown and the top 'sheer' layer of her dress. These new colours from the Autumn/Winter 2013 Limited Edition set are divine! Check here for the full set.
The image I used is a newer release from the fabulous folks at Funky Kits. Home of the Sugar Nellie stamps, which are some of my favourites! You can find this wee princess here. It's a digital stamp, so super quick and easy to download. I've coloured her of course with my Promarkers, notably with the newest limited edition release colours 'Red Sweater' on her dress and 'Sleigh Bell' on her crown and the top 'sheer' layer of her dress. These new colours from the Autumn/Winter 2013 Limited Edition set are divine! Check here for the full set.
I love her sweet face and the lovely sheer layers on her dress. Some really sweet touches in this image. I had to give her glittery shoes of course! I wanted to create that sheer effect in her skirt, so thought the best way to do this was a darker base layer, lighter top skirt and glitter on top. I'm pretty pleased with how it came out. I wanted the 'ribbon' on the skirt to look shinier like satin, so rather than leave that plain, I used glossy accents on this, I forgot however, that this yellows the colour slightly, so it doesn't look a perfect match for the skirt layer below, but I think it still came out okay and works with the red rose and red shoes slightly better.
The '21' I cut from an alphabet and number set I have for my Quickutz hand held die cutter. I don't use this very often, so it was nice to do so actually. I glittered the numbers after cutting.
I used a gorgeous paper from the Teresa Collins Christmas set called Christmas Cottage for the base and inked all the edges on the card with Vintage Photo Distress Ink. I added two photo corners cut using my Quickutz hand tool again and added a small diamante to both. The only other embellishment is the lovely gold ribbon which I've had in my stash for a while. I rescued it from a beautifully wrapped parcel, knowing I'd find a use for it before long. My hubby calls it hoarding, I call it re-purposing! LOL.
I have never added 'bling' to a card before, not sparkly curly bling like this! But it came with my lovely Hobby House set that Hazel France sent me and I think a 21st birthday is the perfect time to add a little opulence and bling to a card! I've always been a little afraid to try it and did wonder how people got their swirls quite so perfect! So imagine my joy and surprise when I went to lift the first diamante off the clear backing sheet and the whole swirl lifted up! All beautifully linked together!! How funny that it never even occurred to me that this is how it would be. Very clever these bling creating folks. I'm less daunted now and think I'll give it another go again soon.

The Arty Shot
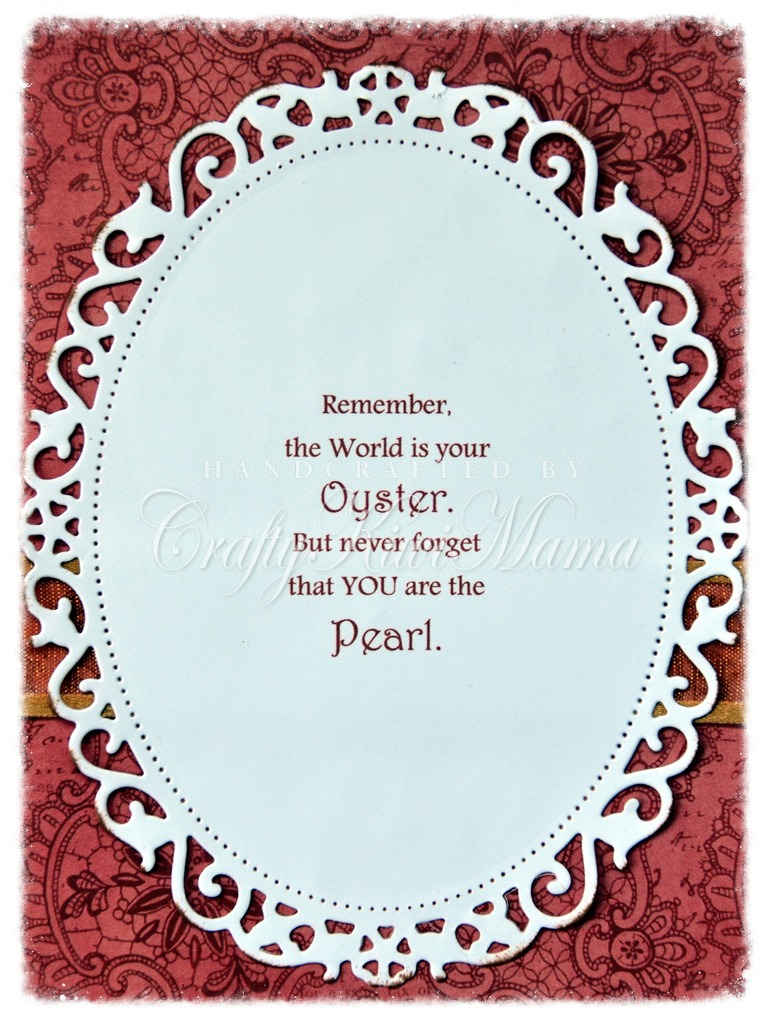
As you can see from the above shot, for once I have actually decorated the inside of the card too. I don't usually do this, as quite honestly, I'm a bit of a paperphile and way too stingy to use my beautiful papers on the inside too! But a 21st deserves a little extra special treatment, so though it pained me to use a whole sheet to line the inside, yep, I ripped off the band-aid and just went with it! It does finish the card really beautifully I must confess.
I wanted to add a little extra message to the inside of the card too, which I altered slightly from previous versions I've come across, but I think it works perfectly for this occasion. The lovely die-cut shape I've used to mount the image and to create the inside writing section is from a Spellbinders set called Floral Ovals. It really is a pretty set.
Well folks, that's all I've got for you today. I'll be back again soon with a few more crafty makes, but for now, I wish you a fabulous week and hope to see you again soon. Hugs, Wends x
Challenge Entries:
I Love Promarkers: #186 ~ Anything Goes
Creative Craft Challenges 2: #19 ~ Use Ribbon
Challenges for Everybody: #29 ~ Anything Goes
Creative Craft Challenges 2: #19 ~ Use Ribbon
Challenges for Everybody: #29 ~ Anything Goes
The Sugar Bowl: #108 ~ Anything 'Sugar Nellie' Goes
Just For Fun: Colours of Autumn (Autumn Reds & Gold)
Just For Fun: Colours of Autumn (Autumn Reds & Gold)
Pollycraft Challenge: #7 ~ Harvest Colours (Red & Gold)
Chocolate, Coffee & Card Challenges: #48 ~ Anything Goes
A Creative Romance: Dies or Punches (Quickutz & Spellbinders)
A Creative Romance: Dies or Punches (Quickutz & Spellbinders)
MilkCoffee Challenge: Fabulous Fall Colors (Autumn Reds & Gold)
Di's Digi Design Saturday Fortnightly Challenges: Fabulous Fall Colors
Without Words: Happy Anniversary (The anniversary of my cousins birth - 21 years ago!)
Di's Digi Design Saturday Fortnightly Challenges: Fabulous Fall Colors
Without Words: Happy Anniversary (The anniversary of my cousins birth - 21 years ago!)
As You Like It: #11 ~ Favourite Sentiment & Why (Love this new twist on an old sentiment)


Comments
hugs Sue xx
Ruth x
xx coops xx
luv
Debby
Hugs
Cathy DT
xxxxxx
Elaine xx
Thank you so much for joining us at
Without Words Challenge I hope you will try to join us again next Month :)
Have a lovely day
Crafty hugs
Bridget :) x