Whimsy Stamps ~ Easter Hugs
Hey crafty friends! I'm back again, can you believe it?! So rare for me to post quite so much in close succession! I have a sweet creation to share with you today, using the ink blended panel from my first play with the utterly fabulous prize win I had from Jennifer McGuire to The Ink Stand! Oh my goodness you guys, this prize is AMAZING! I was able to get three of these fabulous ink stands, plus still had change to top up my liquid glue stash, so got a couple of tubes of Gina K Designs glue. Seriously awesome prize! The pièce de résistance is without a doubt the fantastic ink stands themselves! Did you know they have magnetic sides? Such a cool feature, so you can easily snap a couple of sets together on your work top. Honestly, I wish I'd got a second one of the square Distress Oxide stands as this is the ink I use most for blending, but I've no regrets getting the other shapes though, they're fab too. Each stand has little non slip feet, so hold firmly to the worksurface, giving you truly 'hands free' ink blending. No having to hold the edge of the ink pad, getting messy in the process. For one who doesn't like this 'getting messy' bit of the equation, you can imagine my joy! The oblong stand is fab for my Memento inks and any of the standard oblong shaped inks. I show a Hero Arts ink and a Memento Ink in pics below and I show both the mini distress ink cubes and Altenew mini cubes in the Minis Ink Stand. These stands are beautifully made. A really clever and useful crafty innovation!
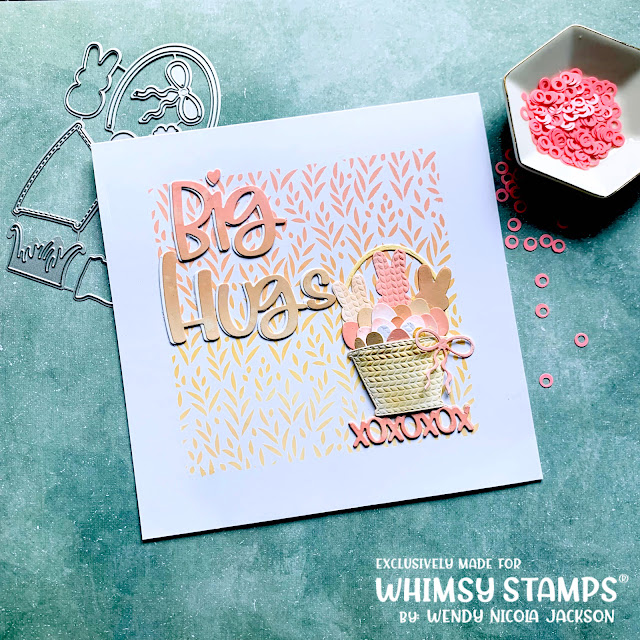
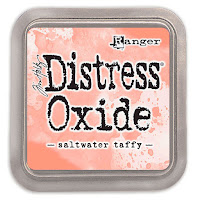
Here's my finished creation, with the ink blended panel using a lovely Whimsy Stamps Stencil called Farmhouse Greenery. I used three colours of Distress Oxide Ink and blended from the lightest buttery yellow colour through to the lovely Saltwater Taffy colour.
I used three Distress Oxide ink colours to create an ombré effect on some cardstock and then diecut the 'Big Hugs' sentiment from that. I blended from Scattered Straw, through Fossilized Amber then finally into Saltwater Taffy. I also cute three layers of the 'XOXOXOX' portion of this lovely sentiment die, which I stacked three times, to create a wee 'platform' to rest the Easter basket on.
I diecut a whole bunch of little elements from the scraps that this inking left behind after diecutting the sentiment and got lots of little Easter eggs in different shades, to put inside the egg basket. I dry embossed the basket and a couple of the little 'peeps' bunnies with a texture folder called Sweater, which I think added a nice bit of interest to this wee basket of goodies. I used the centres from the 'XOXOXO' die too, to add smaller egg shapes in the basket. I added the eggs at staggered heights and depths for a bit of dimension. The basket I adhered to the paper, pulling in the sides slightly, so it bowed out. This image doesn't show the wee heart I added to the basket bow, but I did add one later, after finding a good match in an older Whimsy Sprinklets set which just finishes that bow so sweetly.
I didn't ink the basket until after it was embossed, so when I ran the blending tool over it, I did so softly, so there were areas of white left, giving this woven texture impression.
I hope you've enjoyed seeing this little crafty adventure. I certainly had fun creating this card and trying out my new favourite crafty tools! If you're fortunate enough to be able to get your hands on these stands, I'm sure you'll enjoy using them as much as me! I'm off to eat Lindt Chocolate Bunnies with the kids, so wish you all a very happy Easter Sunday! Hugs xoxo


Comments
I trust you have had a wonderful, joyous day
Blessings
Maxine
Happy Easter xx