Whimsy Stamps ~ Good Luck Old Chap
Hey crafty friends, I'm back today with a card I meant to share last month, but honestly, just ran out of days. February was a blur, between big weather events, family birthdays and college adventures. It's always all go at ours, but more so than usual this past month. So later than intended, but I hope you'll think it's worth the wait!

Those of you who have been following my blog for a little while, might recall a card I did a few years back with a similar theme. I spotted this 'accessories' set for the Penguin Pals Die Set and just knew I wanted to do something similar to that card. You can go back for a peek at what I'm referring to here. I must say, I rather love how this version came out!

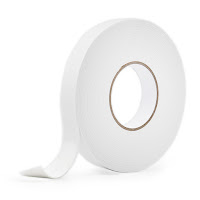
I diecut the background with the Slimline Shamrock's Die I've been enjoying using lately. I ink blended the panel with Distress Oxide Inks in Rustic Wilderness, Mowed Lawn and Shabby Shutters before diecutting it. I wanted to make an A2 sized card, so I trimmed the ends of the panel to fit the card size. I added it to the card base with strong double sided adhesive tape from Scrapbook.com. I like their 2 inch version and use it a lot. It's a good easy size to handle size, I think the wider ones would start to get tricky! It covers a wider area than most standard size tapes, so only need two strips often with A2 size cards. I also love, that when used like this, the sticky shows through the diecut gaps, which makes it perfect to fill with glitter! I did exactly that for this creation. I sprinkled some loose green glitter that I've had forever, (it lasts a long time!). Way back in my London days, I found a lovely set of very fine, coloured glitters at Lakeland. The green was so perfect for this card and I think it adds a lovely bit of shine and interest. Glitter on a man's card? Who said that was a no-no?!!

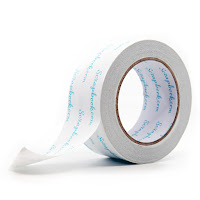
I diecut the cute elements from the Penguin Pals Pizzazz Die Set in black card stock and layered those over the glittered base. I used some foam for dimension. I diecut the little strip that goes across the top hat from some Mint Tape I'd been using whilst I was ink blending as it had the right shades to finish the hat off perfectly! The last detail was to add a little matt black pearl to the bow tie. It just look unfinished without it. Another thing you wouldn't normally add to a masculine card, but I think it works brilliantly! If you're curious what happened to the lovely shamrocks that were diecut from this background, you can see those in use here.
Thanks for popping in today friends, I hope you enjoyed seeing this glittery masculine creation. I'll be back very soon with another crafty adventure, but for now, I'm off to watch some Saturday night TV with my youngest laddo. Wishing you all a lovely weekend. Hugs xoxo


(I use affiliate links where possible, which costs you no extra, but is appreciated by me and by the companies I design for who use this information to assist their marketing efforts. I only design for companies whose products I love and buy for myself. My opinions are always my own. If you're new to Whimsy Stamps, please feel free to use the discount code in my sidebar for your first purchase.)


Comments
Blessings
Maxine