Whimsy Stamps ~ Into The Woods
Hey crafty friends, I have a sweet card to share with you today featuring some super cute images from the Into The Woods Stamp Set from the Barbara Sproatmeyer range at Whimsy Stamps. These images are so sweet and Barbara has several sets now that are themed with this 'tiled' design. They combine and work with each other so well. I think this set is a really cute one and I've had such fun using these. I've created three creations with these cute characters so far. I know I'll do more too, because I've still ideas in my head! I so love a set you're inspired to use more than once! You can see the previous two creations here and here, that included these cute critters.

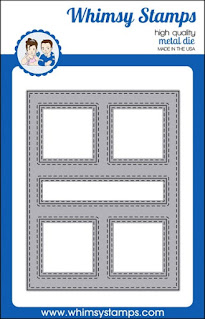
I have used a perfect die set to frame these cuties. I think the four square aperture design just really works so well with these tile style images. The colouring is so quick and easy with images like this too. I kept it very simple and they really did colour up very quickly. I didn't go too dark with my colours on the log, as it was a darker background in that part of the card and I didn't want that area to look overly dark, so went for a lighter wood blend.

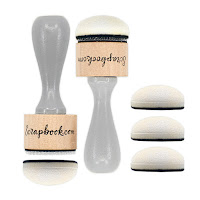
I ink blended the background and then diecut the frame. I am so enjoying ink blending since getting my Ink Stands. Such a cool innovation and really has helped me with my blending. I've been having a lot of fun. I really like the ink combo on this one, I went for an earthy tone for the base of the design, so chose Walnut Stain Distress Oxide, then used Speckled Egg to transition to the brighter blue of the Tumbled Glass. I think this was a lovely combo for these woodland critters. I've kept the off-cuts, as I can use those on other projects.

I popped up the outer frame on foam and then left the backs of the squares at the base height of the card for a bit of interest and dimension. The images I then popped up on a double layer of foam so they pop up even further than the frame. It's a nice bit of additional interest to an otherwise quite simple design. The additional oblong section in the centre I kept for the sentiment, and mounted on a single layer of foam, so it was at the same height as the frame. I heat embossed the sentiment in gold for a warm finish.

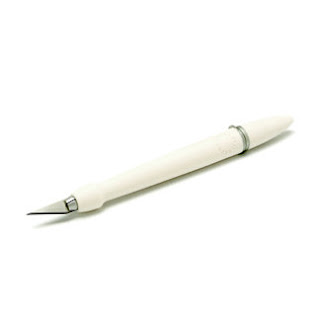
I added the layers to a top folding white A2 size card base and finished with a coordinating envelope. My top tip with this creation was to fussy cut the critters with a craft knife not scissors. I often find scissors just cannot get close enough comfortably when I don't want a white border left. I find I have much better control with a blade. But still use scissors to do a wider rough cut first.

The fun sentiment is from a brand new stamp set to land in my stash. Which I'm looking forward to getting coloured up soon, but felt the sentiment would be a great fit for this design. I think it's fun and can imagine a wee bear saying something like that, what do you think?!

Thanks for popping in today friends, I hope you enjoyed this crafty adventure, I sure had fun putting it together. I'll be back again soon with another crafty adventure. This week has been stressful in my lil' household so it's been nice to immerse myself in a wee crafty adventure. I'll be back again soon with another, until then, have a beautiful week. Hugs xoxo


Comments
Blessings
Maxine